Making Bunting Using Collagraphy Printing

An easy and fun way to make your very own repeat motif bunting is to use collagraphy printing.

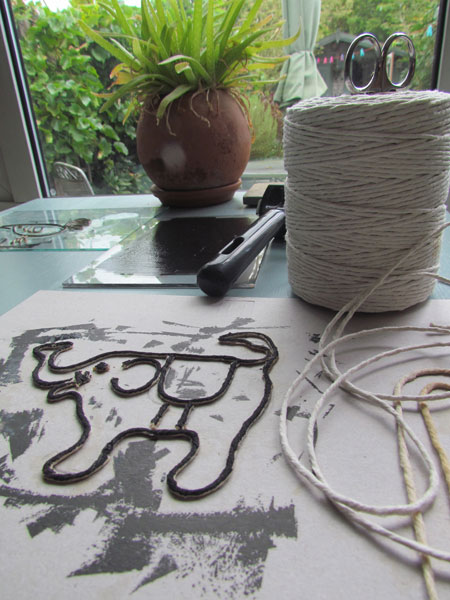
All you need is string, glue and some stiff card (I have used the backing off a pad of paper) to make your design. Glue the string down well onto the card to form the lines of your image and leave to dry overnight.
If you want to use an existing design, a great trick is substitute the card for a piece of perspex. Lay the perspex over the image you want to copy and you’ll be able to see through it to follow the lines with the string.

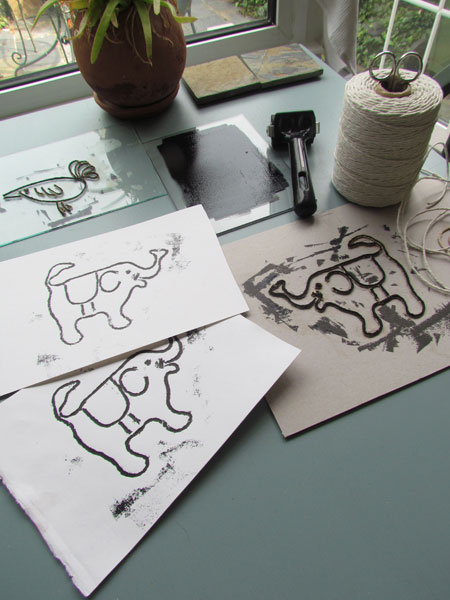
Ink over the string with a Roller – or Brayer – and place a piece of smooth paper – such as Bockingford Hot Pressed Watercolour Paper – over the inked string. Keeping the paper firmly in place, rub with quite a bit of pressure to transfer the ink on the raised string to the paper surface making sure to spread the pressure evenly for a better print. Keep printing, applying more ink when necessary, to get your required number of copies.

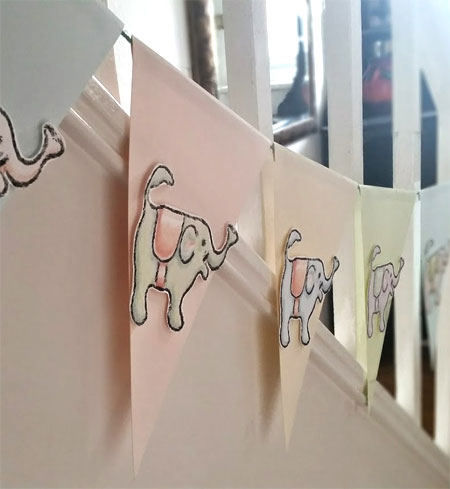
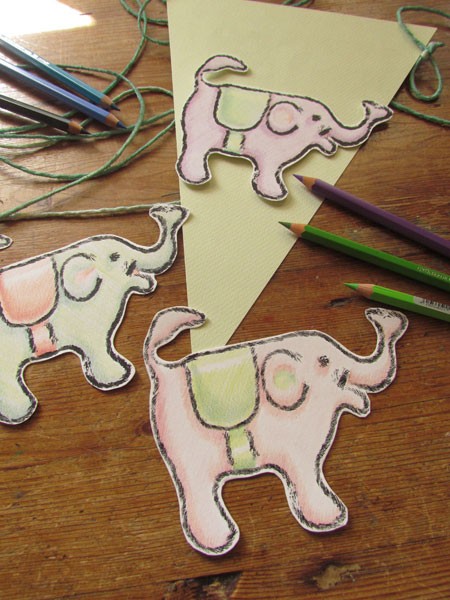
Colour your prints in with pencil or paint or simply print onto coloured paper for an even quicker result. I have stuck them to a textured paper to make some bunting and sprayed some of the string a complimentary colour to hang them from.
