How to Make a Scary Mummy
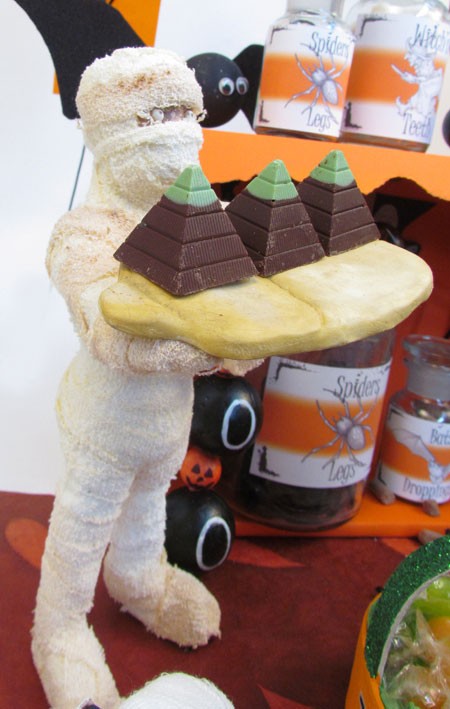
A really fun Halloween Craft project for older kids is making this Mummy.
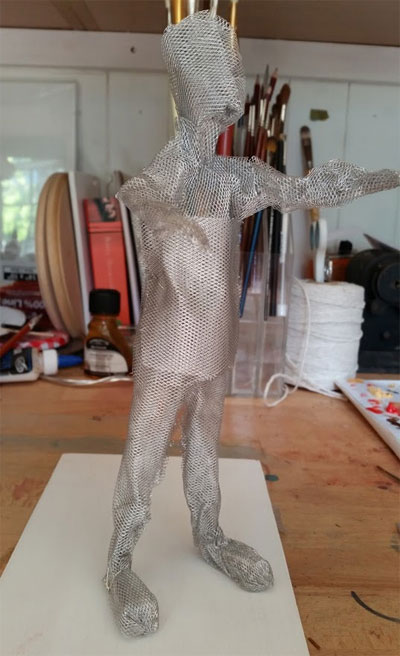
Using wire mesh, create an armature that vaguely suggests a human form with arms outstretched. At this stage, try to get the feet as flat and big as possible to ensure the Mummy can stand on his own. The wire mesh is easy to crumple and mould into shape but you may want to wear some protective gloves such as gardening gloves as it can be quite sharp. Then cover the armature in plaster gauze to define the shape. It is easier to cut the gauze into strips before submerging in a bowl of water to make the strips the consistency of a wet flannel and placing on the armature. It is messy but very good fun! Allow to dry overnight.
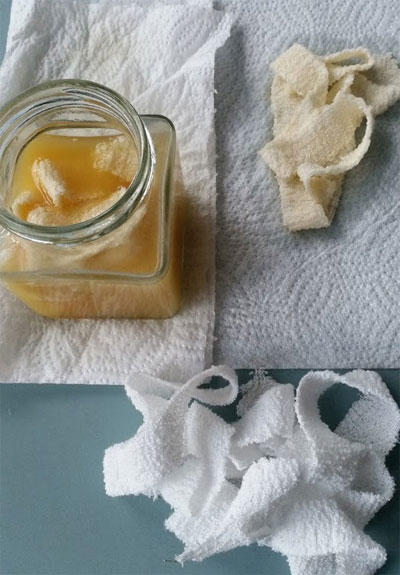
In the meantime, take some crepe bandage – available in all chemists – and cut into strips. Squeeze a little waterbased paint such as Watercolour or Acrylic into a jar of water until it is a suitably murky yellow colour. Raw Sienna is a good colour for this. Soak the strips of bandage in the coloured water and then leave to dry. As an extra touch, add in little dabs of burnt umber paint just before taking the bandages out to give the bandage more of a mottled, distressed look.
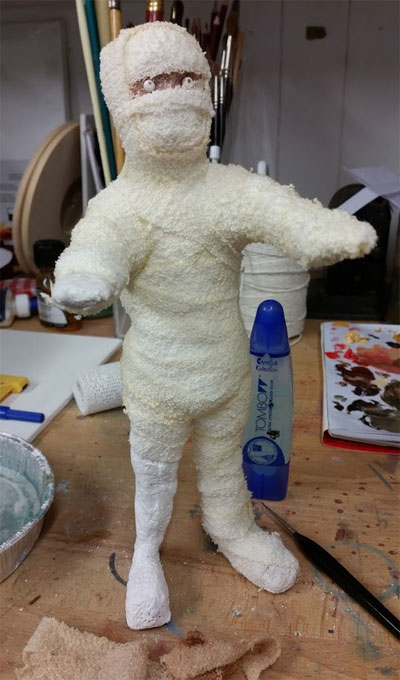
Start wrapping your figure in the bandages, sticking down where necessary with a clear glue. You can paint any exposed areas with Acrylic Paint such as I have done here around the eye area and I used tiny bits of modelling clay to make the staring eyeballs!
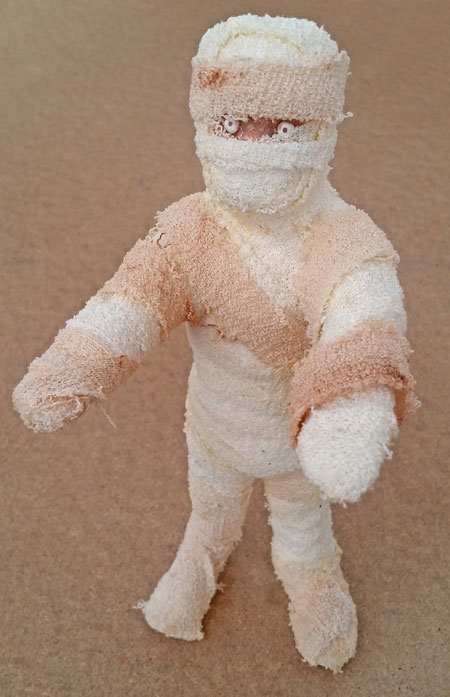
Drape a few loose bits of bandage around and leave loose threads in place so that it looks as though the bandages have been around for a few thousand years. You can really go to town making your Mummy as gruesome as you want but I had another idea in mind for mine so didn’t want to make him too scarey!
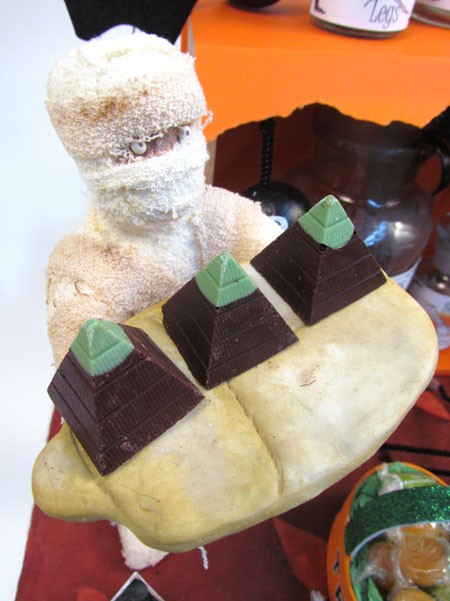
Pyramid Mint, anyone?
