How to Make a Paper Bird

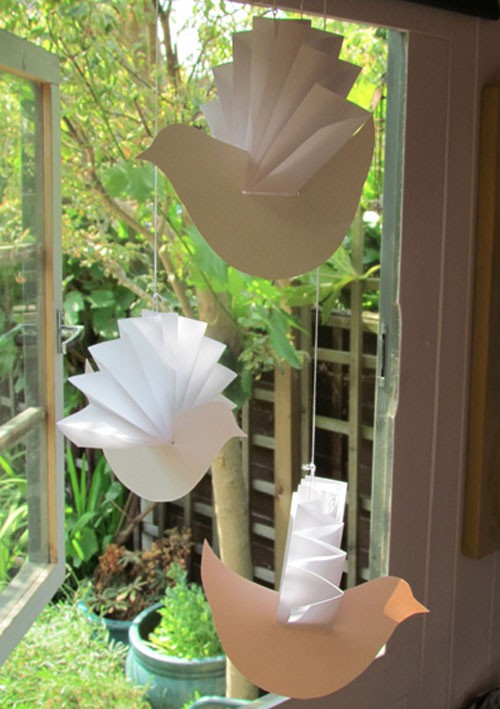
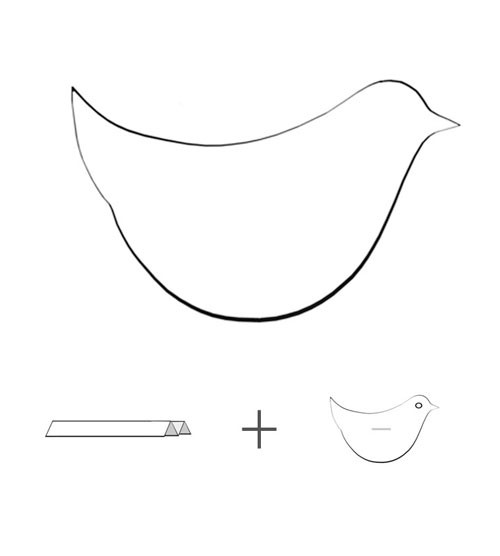
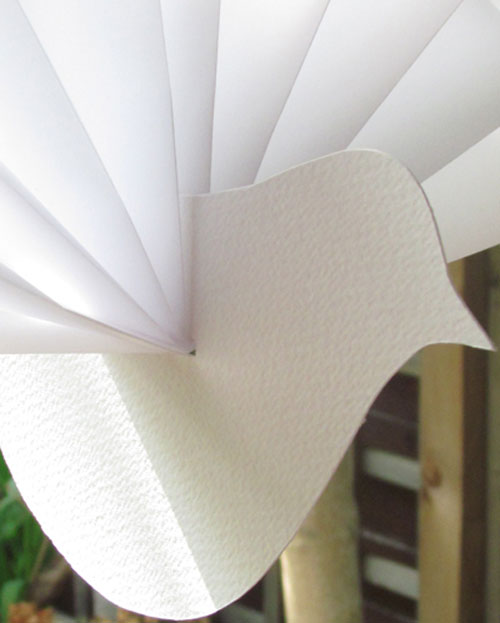
Use the bird body template, below, to cut out the shape from any card or paper of 120-350gsm that you like. I have used Bockingford Watercolour Paper and Tiziano Textured Paper, which reflect the light nicely as well as having an interesting texture, but you can use patterned, pearlised, cardboard or plain card – whatever takes your fancy. You can re-size the template to suit your needs.

Choose a complimentary light-weight paper of 50-100gsm, such as copy paper, wrapping paper, tissue paper, tracing paper, origami paper or craft paper. I have used a white ‘colour trace’ paper which has a lovely translucency. For best results when making a bird that is about 15-20cm long, choose an A4 size piece and fold over about 2cm of one of the shorter sides. Continue to concertina – folding one way and then back on itself with the next fold – right down the page.
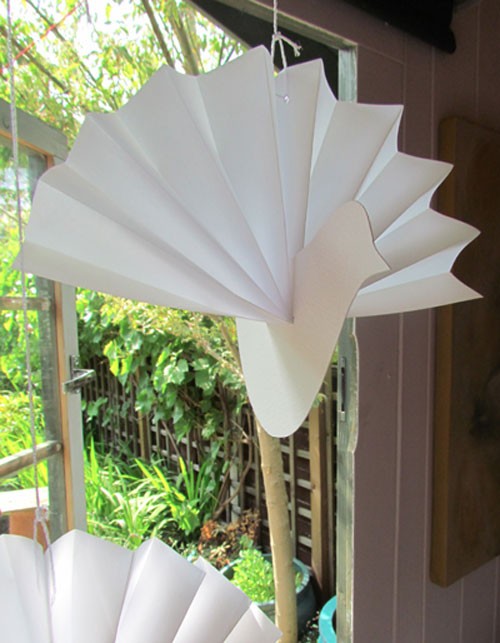
Make a slit in the body which will just fit the folded paper and feed it through so that equal lengths show on either side of the body. Fold the paper upwards at this halfway point. Then holding the two top edges together, fan out the paper towards the sides.

Make a small hole in the ‘wings’ where they meet at the top and feed through a Ribbon or Thread with which to suspend your bird. We have used some Starmist Glitter Thread. Another way is to cut out two body shapes – mirror images of each other – and sandwich some ribbon between them before securely gluing the two pieces together but make sure that the ribbon is not in the way of feeding the wings through!

An eye can made with paint, a wiggly eye, a gemstone or drawn on and embellishments, like a feathery tail or little buttons, can be added for your own unique design or left just classically simple.
