What do I need to make Lino Prints?
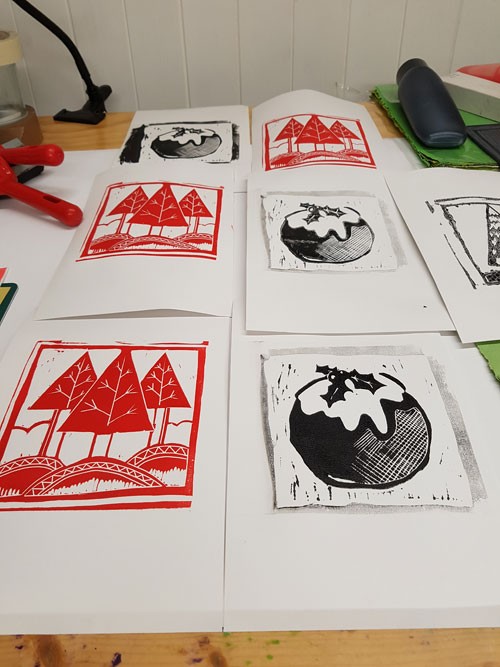
Lino Cutting is a print-making method where a design is cut into a sheet of lino or vinyl, inked and can then be transferred to a suitable surface multiple times allowing you to reproduce loads of hand-made prints of your own unique designs. This is a particularly nice technique for creating cards!
Want to try your hand at lino-cutting but don't know where to start? Here's the Curtisward guide to what you need to make lino prints.
Lino
Linoleum has been used as a floor covering since the mid 19th century. Found to be useful for making printing plates for repeated designs on wallpaper, it was first embraced by Fine Art printmakers in the early 20th century as an alternative to wood blocks and became very popular for artists, designers and students from the 1960s onwards. Traditional lino is quite a stiff, hard-surfaced sheet made from linseed oil with a canvas mesh backing but new kids on the block include softer materials such as rubber and vinyl.
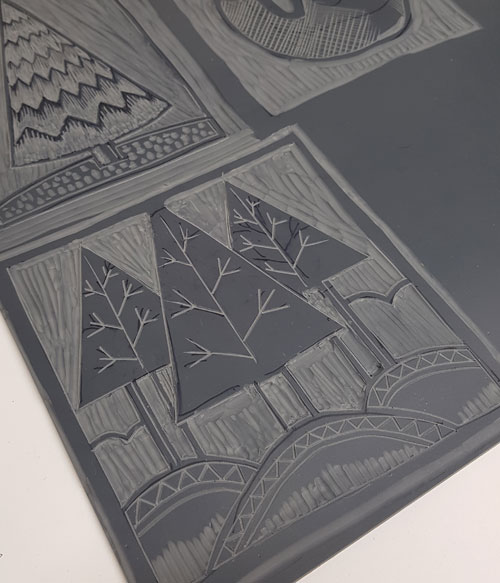
Whilst the soft cut is easier to cut into, I find that the Traditional Lino lends itself to achieving crisper edges and more precise cuts.
Lino Cutting Tools
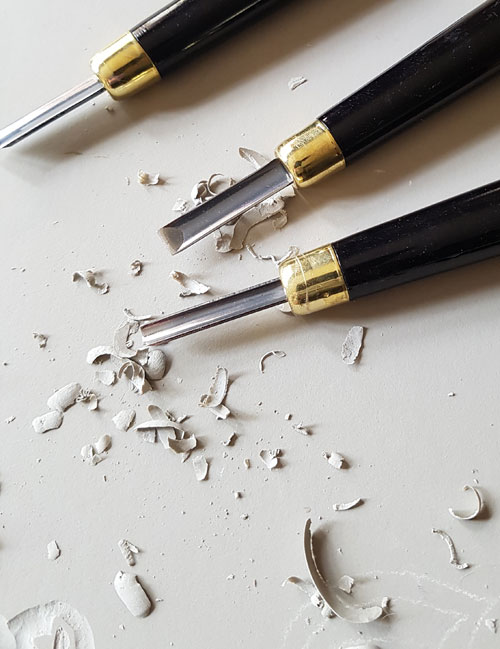
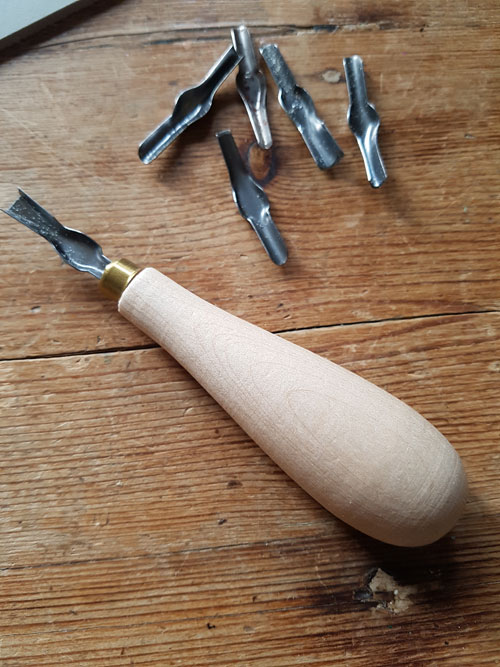
Lino Cutting Tools are blades of varying widths, depths and shapes that will make grooves in lino or equivalent material. A selection of tools will usually be needed to make a range of marks and the tools will either be a fixed blade option or an option that provides a number of blades that slot into the one handle. With the latter option, the blades have a crescent-shaped shaft that fits into a circular groove in the handle and is a common option for the beginner.
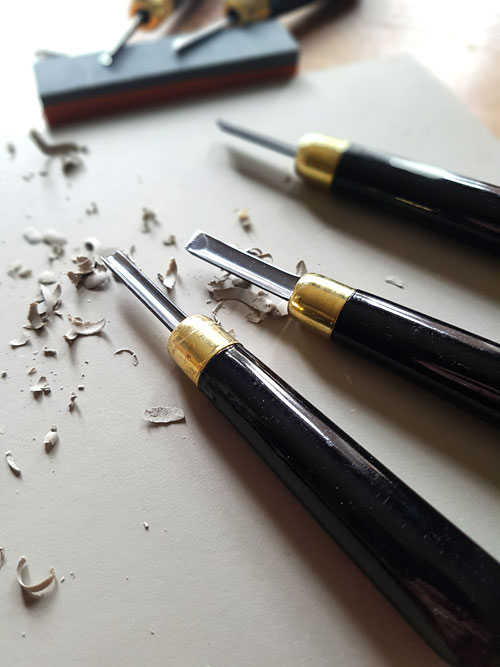
As you become more proficient, may wish to invest in fixed blade tools which will, generally, be of a better quality being made of a higher grade metal and a good, solid construction.
Printing Ink
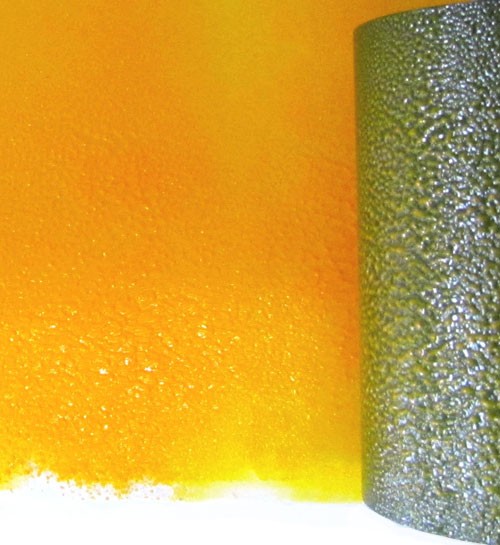
Printing Inks for Lino Printing can be called Block Printing Inks or Relief Inks. They can be water-based or solvent based and should be slow drying, thick and viscous. Water-soluble Oil Paints can also be used.
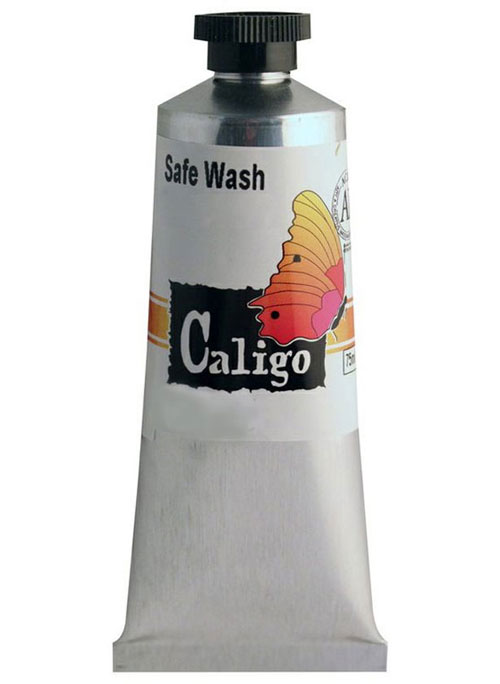
I particularly love using the Caligo Relief Inks as they are water-based – so very easy to clean up afterwards – but have a strong colour and great consistency that gives the slightly raised finished that makes an attractive handmade print.
Brayers
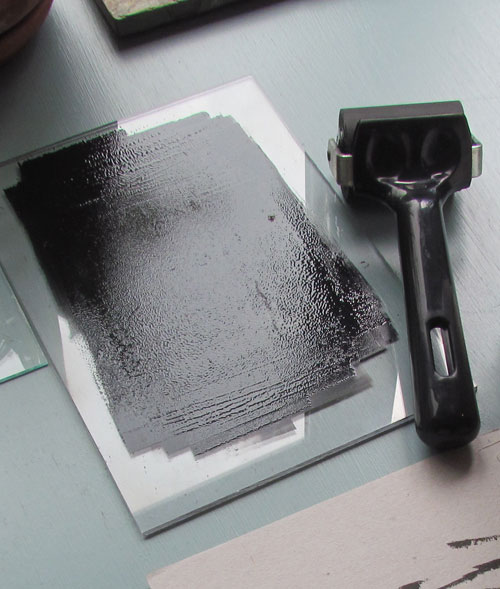
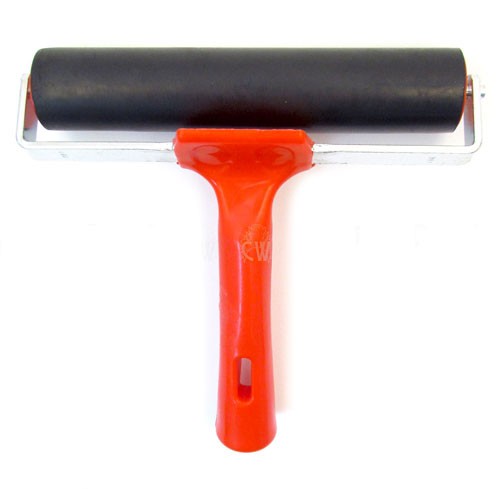
To transfer the ink evenly to the lino, a brayer or ink roller is used. Brayers are basically rubber-clad rollers with either a plastic, metal or wooden handle. A not too over-generous dollop of ink is squeezed out onto a non-porous surface such as a pane of glass, piece of Perspex or marble surface and the brayer is coated by rolling the ink out over the surface until even.
The now inked brayer is then used to roll the ink over the lino, laying an even layer of colour over the raised areas of the design. Brayers should not be used with a great deal of pressure and certainly not as a baren (a what, I hear you ask...)
Baren
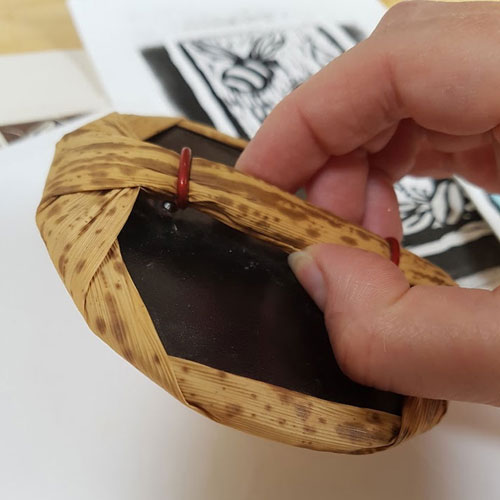
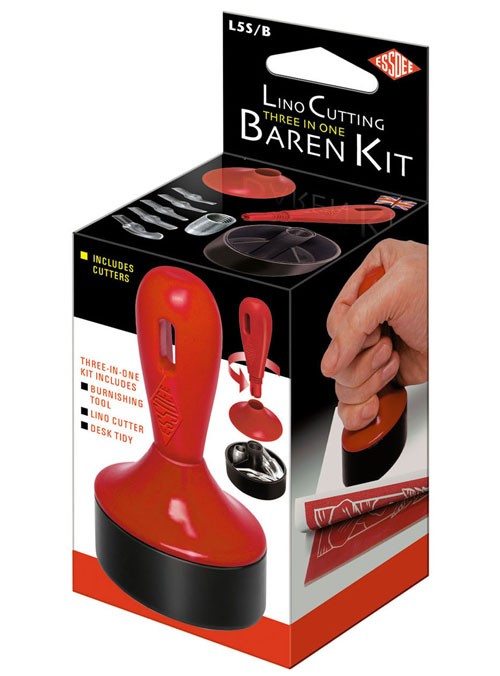
A baren is used to ensure that an inked design is transferred to a paper surface evenly and clearly without the need for a printing press. Traditional barens, like the one pictured, were often bamboo-sheathed flat pads of wood or hardened paper pulp whilst modern ones can be plastic with a more ergonomic handle.
The pad is used to smoothly apply pressure to the back of the paper with a gentle circular motion to increase the contact between the surface and the inked design so that a good, clean print is achieved.
Paper
There are many papers that can be used for printing on but, for the most part, they will be smooth papers of a medium weight. There are specific printing papers – not to be confused with papers used for digital printing on inkjet or laser printers – and hot-pressed watercolour and cartridge papers can also be used. Be careful not to choose papers that are very delicate or lightweight as any rubbing of the baren may cause it to disintegrate or stick to the lino.
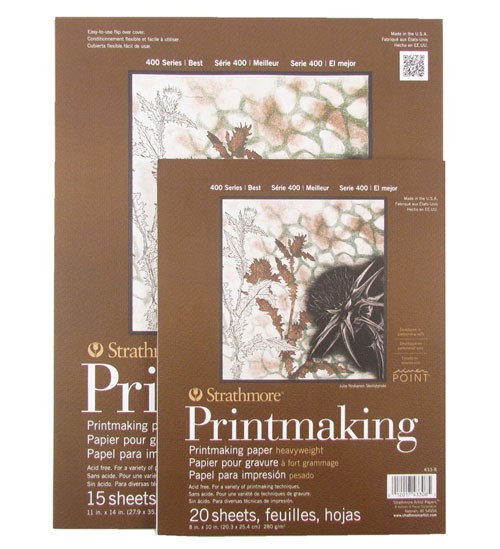
For very ‘rustic’ printmaking, you may wish to experiment with textured or coloured handmade papers. The choice of paper will ultimately depend on the effect you want to achieve.
Transferring a Design to Lino
If you’re confident enough to sketch your design directly onto the lino, then a permanent marker will do the job nicely. It can be just a rough sketch that guides where your cuts will be made. Even if you make an error, it will not matter as the pen ink will not transfer to the printed image
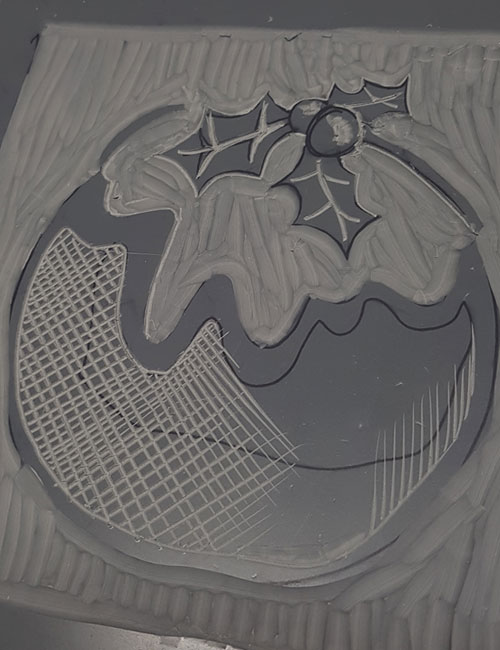
But if you have planned your design out on paper and want to make a precise copy on the lino, you will need to transfer it. For transferring designs to both soft cut and lino, I would recommend the soft pastel technique. Take the sheet of paper that your drawing – or a digital print out of your drawing - is on and scribble all over the back of it with a soft chalk pastel of a colour that will contrast with the lino. Rub the pastel into the surface and blow away any loose material. Lay your prepared paper on the lino and draw over the lines of your drawing.
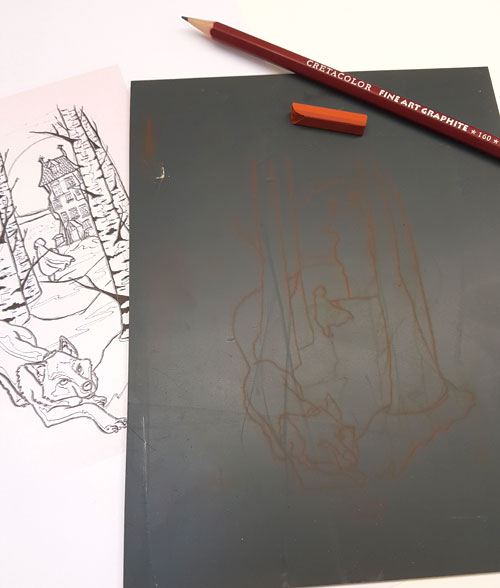
Use a soft pastel to colour the back of the sheet of paper that has your drawing or print-out on it, lay the paper on the lino - pastel side down - and draw over the lines. The colour sanguine will show up well on both Soft Cut...
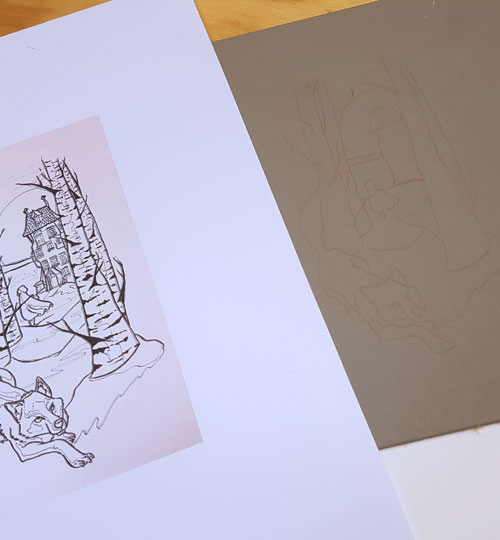
...and Traditional Lino.
The pastel will give a clear line copy of your design. However, being pastel, it will rub off easily so either be very careful as you cut your design out or go over it before you start with a multimark.
Misting Bottles
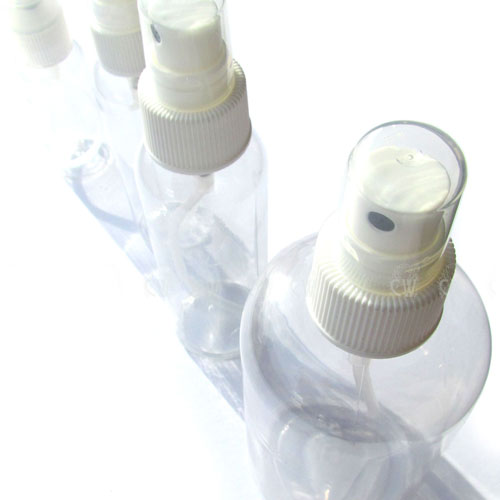
Although it will depend on the paper you are using, quite a few papers will benefit from being damp when printed on. As submerging the paper in water may over-soak it, I find that simply spritzing it with an atomiser or misting bottle is sufficient to ‘relax’ the paper a little and help it accept the ink and enhance the ‘embossing’ effect that is created with the extra pressure when used in a press.
Drying
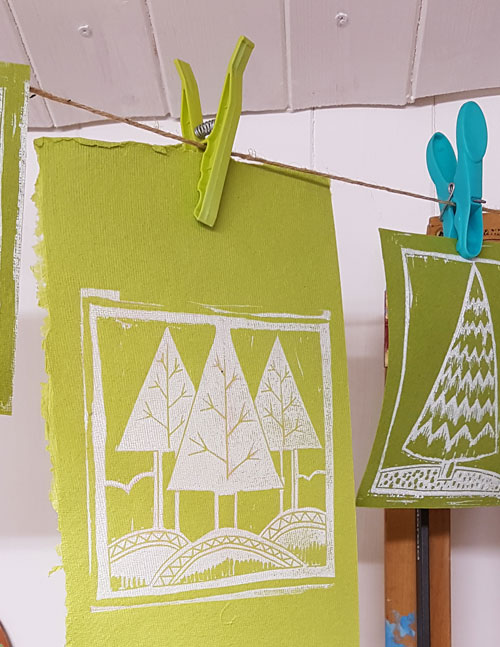
The inks will take some time to dry so it is useful to either lay them out somewhere where they will not be disturbed or, ideally, hung up. There are, of course, professional drying racks but I find that string and a few clothes pegs do the trick!
